It is a long story but Covid-19 drove me to find a way to store my 15,000 pound displacement sailboat in my driveway this summer, at least until Maine, where I usually keep her reopens to “people from away”. Big problem – I need my driveway for our vehicles, so the solution was to extend the driveway. The paving contractors we called were all very nice and had great references, but this thrifty Yankee had sticker shock. I estimated I could do the project myself for one third the cost, including materials. The cut part of the project was to remove the topsoil down to 9” depth over a 15’ x 25’ area. The fill part of the project was to lay down 3/4” pack gravel in the volume previously occupied by the topsoil.
Dot3D Pro to the Rescue
My trusty DPI-8S running Dot3D Pro V3.3.1 helped me verify the fill quantities. The problem with ordering too much gravel is that it is not so easy to get rid of any surplus. My wife was not enthusiastic about starting a gravel pit in the back yard. Order too little gravel? Then you’re faced with ordering more and the transportation cost adds up.
Step One – the cut operation
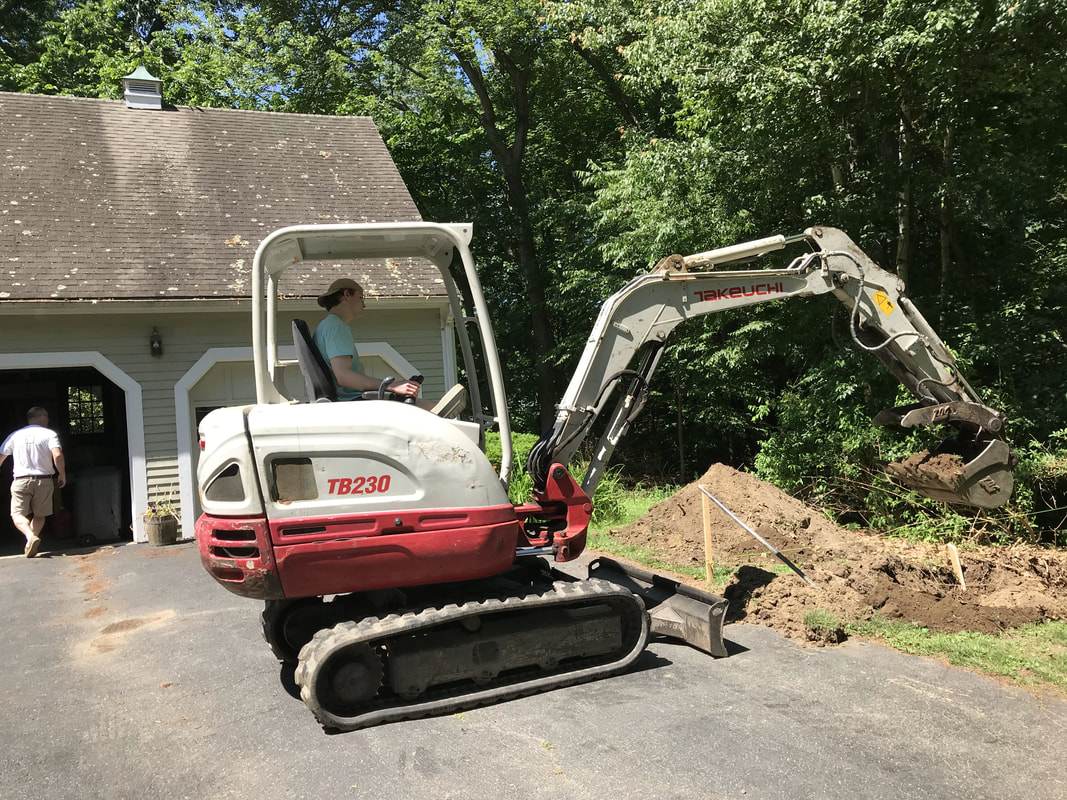
This is a great country. I easily rented a Takeuchi TB230 Compact Excavator and my son Garrett and I got the excavation done in a couple of hours. This included learning how to operate the equipment from a cold start. The power of the opposable thumb on the bucket makes you feel superhuman. I bow to the experts who operate this equipment and bigger every day, of course with much more efficiency.
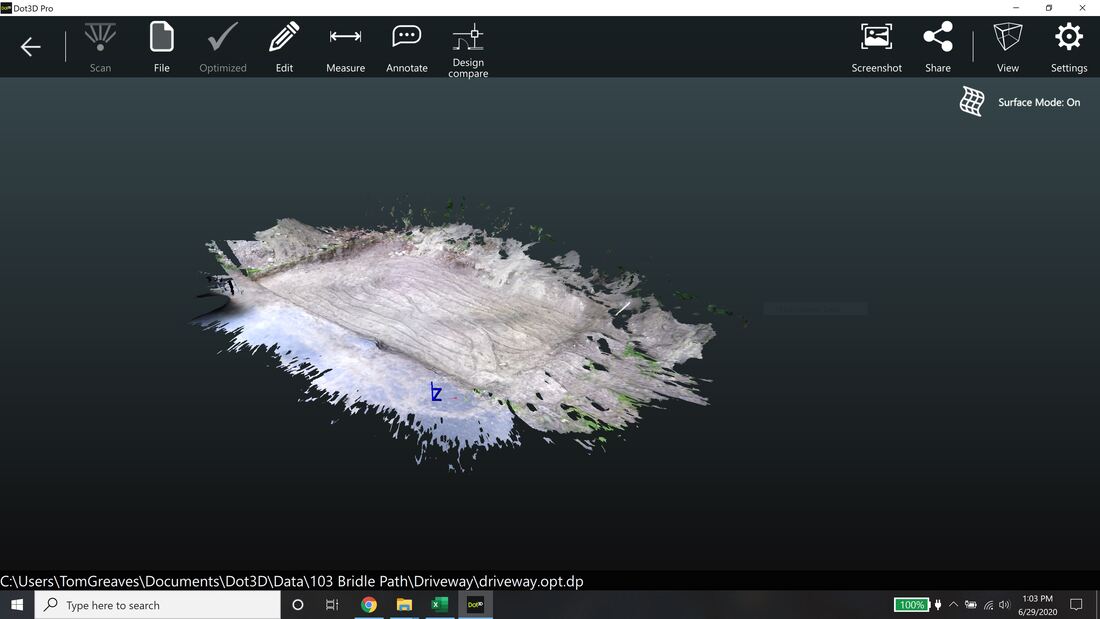
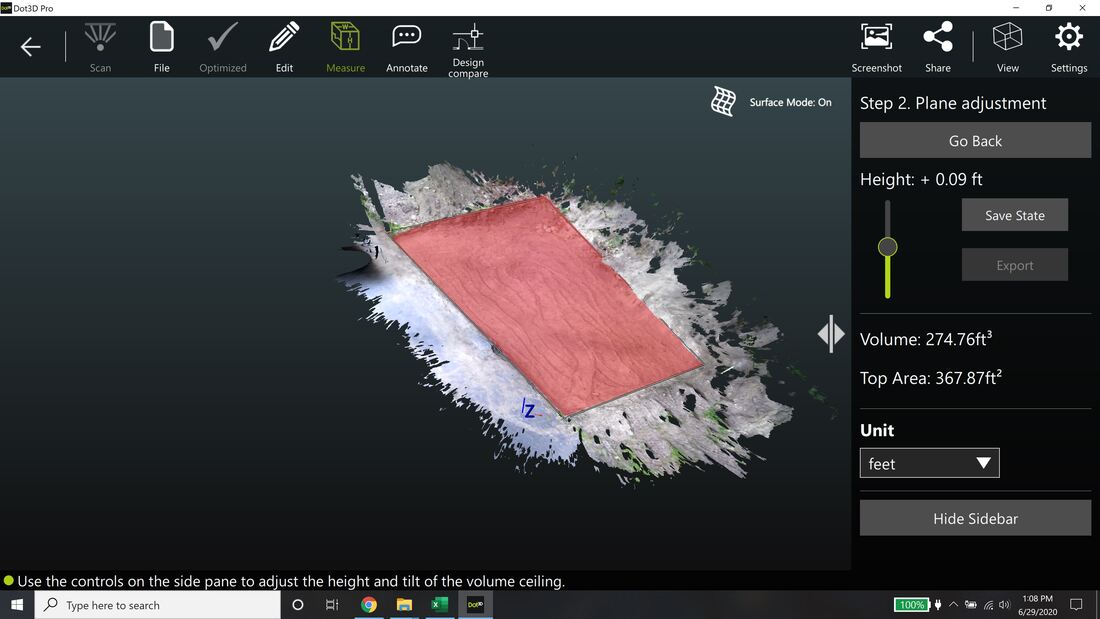
I had staked out the area of interest using a tape measure and string and marked some stakes with the 9” desired depth to guide the excavation. Next, I scanned the pit with my DPI-8S – see Figure 2 and then I used the volume calculation tool to estimate the excavated quantity. The tool calculates the volume between the base of the excavated surface and a plane fit to the four corners of the top surface of the hole. The plane elevation can be adjusted manually too. See Figure 3.
Surface Area (square feet) |
Depth (inches) |
Volume (cubic feet) |
|
Design Specifcation |
15’ x 25’ = 375 |
9” |
281 |
Measured with Dot3D Pro |
367.87 |
274.8 |
Step Three - Fill Operation
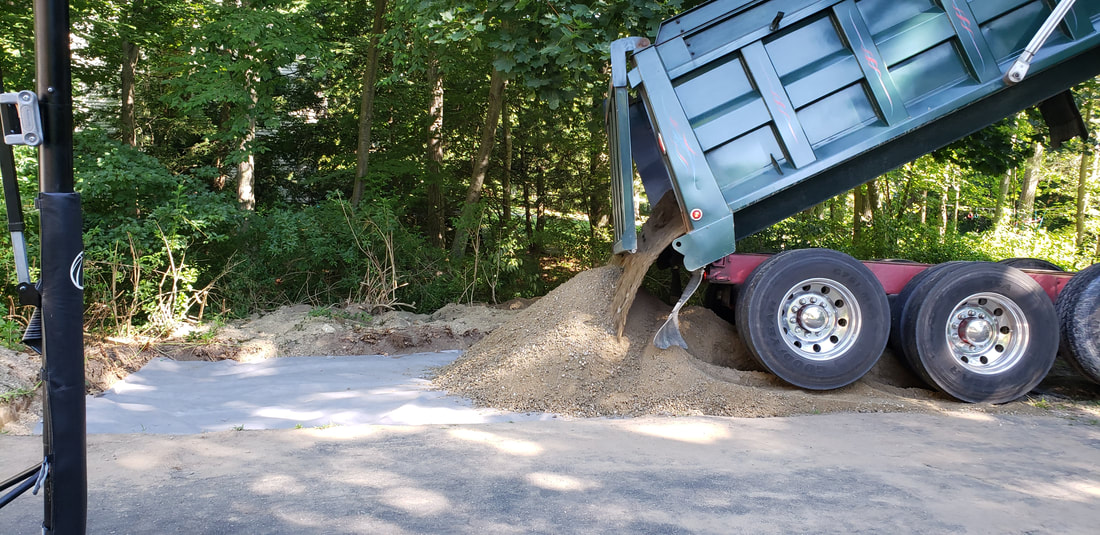
I confess I felt a thumping in my chest when the gravel truck showed up. The operator was very skilled and helped as much as possible to distribute the load. I covered the bottom surface with landscaping mat to prevent weed growth prior to laying down the gravel.
The tried-and-true armstrong method was used spread the remaining gravel. Many thanks to my son Garrett and daughter Emma for helping me with the shovel work.
Conclusion
Handheld scanning provided a fast, accurate way to estimate hole volumes for small projects like this.

 RSS Feed